Chat
Chat

Video guide at the end of the article
Wing attack FIFA 23 Guide
Have you been getting stuck too much in the center while building up your attack and hesitant about exploring the opportunities on the wings? Well, with today's tutorial we are going to put an end to that problem.
The easiest way to get FIFA coins fast.
On our site you can buy FIFA 23 coins within 7 minutes, just fill in the link or text the operator.
Purpose of the winglpay
We are going to start off with why wing play is so important and why we need it. In some cases players don't realize that they are only using one area of the pitch to get themselves forward. Getting stuck in the center is the most significant indicator for this. You get the ball towards the center and try to break through, but it really gets hard whenever you face a player who tends to defend really narrow and covers the center well. This is the main reason why you need a wider approach.
You don't limit yourself with the central area but also use the space on both left and right when you're attacking. Whenever you get the ball towards either one of the sides, the opponent will also need a Defender there, so you either force him to drag one of his Defenders, which will break his defensive shape, or get open space to get even more dangerous in front of the goal. Players on the wings can also penetrate the defense with their runs. Always pay attention to their movements as they can rapidly break the shape of the defense and receive the ball in a dangerous spot or shift the opponent's defensive focus to themselves, while you go for another opportunity in the center.
We are going to take a look at five different aspects to how to set up the attack and create a chance on the wing
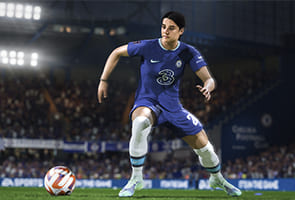
Initialing a movement
First off, you will need a movement. Since we previously talked about Wingers penetrating the defense, their runs behind the defensive line is crucial you can either use the L1 LB button to make your winger run while you are pointing him out with the left analog stick or pass a ball with the Winger himself, while holding on to the L1 LB button to initiate the one two pass and send them behind the defensive line. Make sure you watch the Winger’s run.
Take a look at the defense and time to pass correctly to get the most out of it.
Drawing defenders towards the side
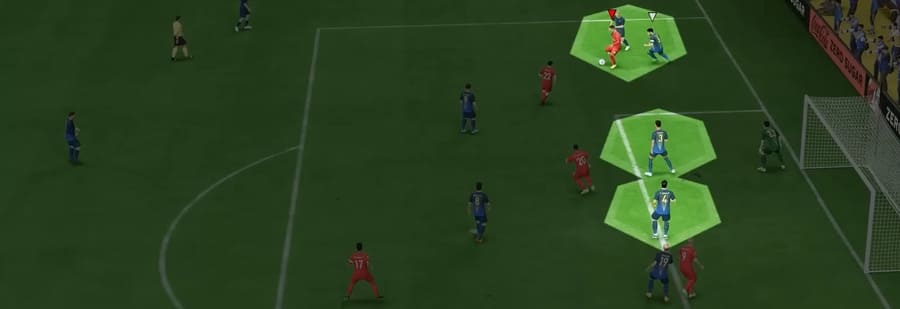
Once you create the movement on the wing and the danger with it the opponent will have to react to it. This means that he will get at least one of his Defenders there to confront you. By dragging Defenders towards that side he might give up openings for you in the center or on the other side, so passing the ball back and then quickly switching sides could open up crucial opportunities for you.
In this example, as we pass the ball towards the wing the opponent brings two Defenders to prevent the potential danger while also cutting the passing lane to the striker. This is exactly what we expected from the position and we passed straight back towards our midfielder, who can connect the ball with the unmarked Striker inside the box, just because the opponent dragged too many defenders towards the side. Easy peasy.
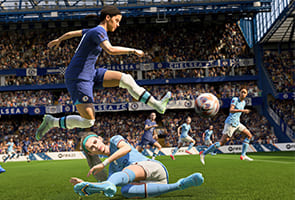
Cutting back towards inside
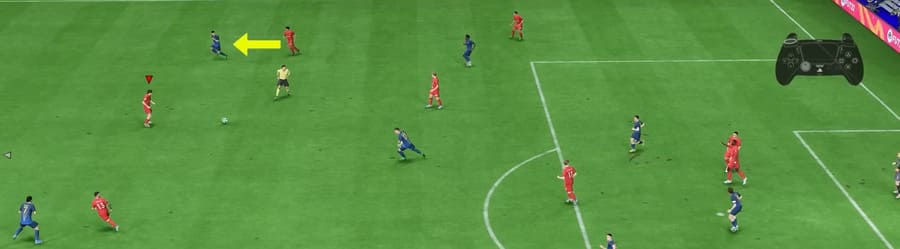
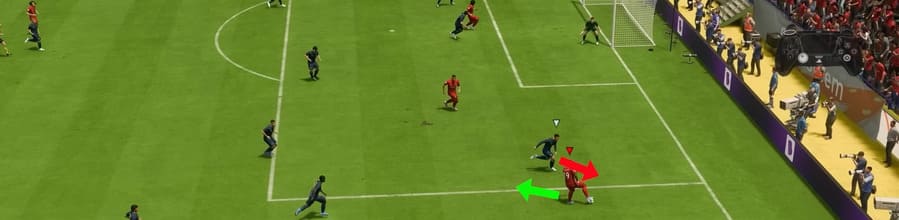
If you want to create the danger directed with the Winger himself and take it one-on-one with the defender, you will have two options. The first one is to cut the ball back to get past the defender. This will mostly come in handy when the opponent has the tendency to run too much in his defense, especially towards the goal line. These players won't expect you to change direction and you can either create the goal scoring opportunity for yourself or for a teammate who is in or around the box.
Here we initiate a move with a 1-2 pass, wait for our wingback to get in the optimal spot while covering the ball and pass the ball to him. Next we need to analyze where the opponent is going so watching him rush towards our running lane helps us decide that we should cut back inside and use the space he opens up. So with a simple ball roll we get rid of the pressure, pass the ball to the open teammate, turn around and score the goal.
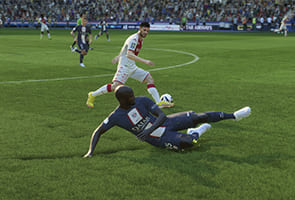
Exploring the goalline
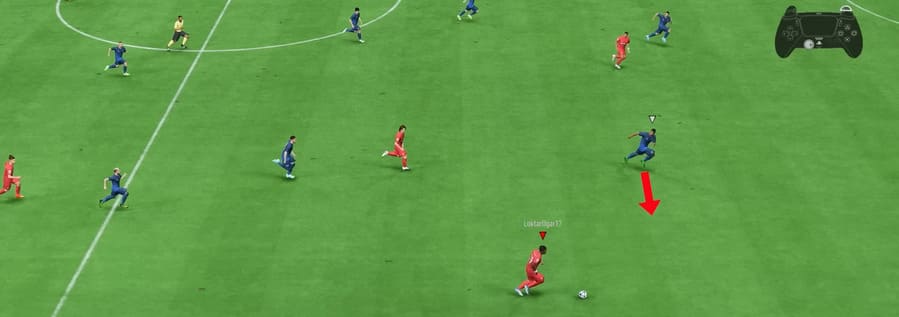
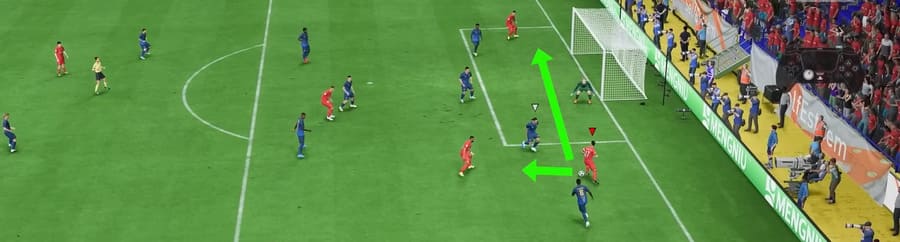
The second option is to get your Winger straight towards the goal line. Again, the defensive tendency plays a huge role here. If the defender thinks that he will turn around and consistently stops to control the cutback line you can use the element of surprise and accelerate towards the goal line, which can create a very effective passing chance which ends up with an easy goal.
As we once more take a look at the defender's behavior we see that he is consistently trying to cover and control the passing lane as if we were to turn back and pass a ball towards our teammate.
That is where we decide to explore the goal line and pass a ball to the same teammate, who goes into that direction with a through ball. We have multiple passing options but we need to see what the defender does next. So he takes another Defender and gets closer to our left side to cover the pass to that direction and we take the ball once more towards the goal line, go for a strong driven pass and find the empty net.
Remember, this method and cutting back are exactly opposite, so make sure you use both of them and consistently switch between them to become unpredictable and not let the defender get into your head
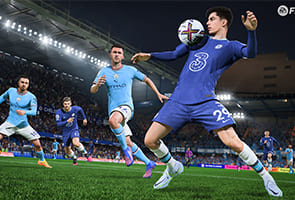
Crossing the ball in
Last but not least, crossing the ball is sometimes very effective, especially on the counter if the defense is not set properly in the box and you have an open player. If you see an unmarked player inside the box, don't hesitate and power up the cross regarding the distance.
Here on the brake we have the advantage over the defender and he needs to cover multiple opportunities. We could try to dribble further or pass a ball towards a closer player, but he seems to control both chances. However, on the other side there is a tiny little Gap that our other striker can fill and we decide to go for a far passed cross with a power between 2 and 3 bars and finish off the attack
We think that this lesson will enhance your build up by far, if you could make use of the wing play as we show you.
Video guide for ones lazy to read